

Google and Apple OIDC are the most extensively validated built-in providers end-to-end. Other built-in providers (Facebook, X/Twitter, Discord, Auth0, Cognito, …) and self-hosted enterprise IdPs are supported through
CREATE_OAUTH_PROVIDERS and — for issuers you operate yourself — the Custom OIDC Providers registry below. Every identity bound this way is cryptographically re-verified inside the enclave (signature, issuer, audience, expiry) before it’s persisted; nothing is trusted at face value.Types of social login providers
0xkey supports two different types of Social Login Providers:- OIDC Providers (Google, Apple, Auth0, Cognito…) These providers issue your app an OIDC ID Token identifying an end-user, which can subsequently be passed to 0xkey as a means of authentication.
- OAuth 2.0-Only Providers (X/Twitter, Discord…) These providers do not issue OIDC ID Tokens themselves, and instead provide only bare-bones OAuth 2.0. To work around this limitation, 0xkey runs the OAuth 2.0 Authorization Code + PKCE flow, calls the provider’s
who-am-Iendpoint using your app’s credentials, and then uses the returned user data to issue a short-lived OIDC ID token. In effect, 0xkey acts as an “OIDC Wrapper” for these OAuth 2.0 Services.
Social login provider types - comparison
The table below can be helpful in understanding the similarities and differences between the two types of Social Login Providers that 0xkey supports:Roles and responsibilities
- 0xkey: Runs verifiable infrastructure to create credentials, verify OIDC tokens and, in the case of OAuth 2.0-Only Providers, issue them as well.
- Parent: That’s you! For the rest of this guide we’ll assume you, the reader, are a 0xkey customer. We assume that you have:
- An existing 0xkey organization (we’ll refer to this organization as “the parent organization”)
- A web application frontend (we’ll refer to this as just “app” or “web app”)
- A backend able to sign and POST 0xkey activities (“backend” or “parent backend”)
- End-User: The end-user is a user of your web app. They have an account with Google.
- OIDC Provider: A provider able to authenticate your End-Users and provide OIDC tokens as proof. We’ll use Google as an example.
- OAuth 2.0-Only Provider: A provider of OAuth 2.0-based Authorization, for which 0xkey is able to act as an “OIDC Wrapper”.
Authentication sequence diagrams
The sequence diagrams below display the differing flows for the two types of Social Login Providers.OIDC provider
1
Create API Key
The frontend generates an API keypair before starting the OAuth login flow. This keypair will later become the session keypair once the user is authenticated via 0xkey.
2
Start the OAuth Login Flow
The user begins the login process by clicking “Log in with <OAuth provider>” on the frontend.
3
Initiate OAuth with Nonce
When starting the OAuth request to the provider, the frontend sets the
nonce to sha256(publicKey) based on the API public key. This binds the resulting OIDC token to the keypair.4
User Grants Permission
The OAuth provider prompts the user to grant permission to share their identity. Once approved, the OAuth provider returns an
oidcToken to the frontend.5
Send Credentials to Backend
The frontend sends the
oidcToken and API public key to your backend.6
Get or Create a 0xkey Sub-organization
The backend gets subOrgIds that are associated with that
oidcToken. If no sub-organization exists, it creates one using the identity in the token.7
Create a Session
The backend calls
oauth_login with the oidcToken, and API public key. 0xkey validates that the token’s nonce matches sha256(publicKey) and returns a session JWT. The backend sends this JWT to the frontend.8
You're Now Authenticated
Your frontend now treats the API keypair as the session keypair. It can use the private key to sign requests to 0xkey using the
x-stamp header.OAuth 2.0-only provider
1
Create API Key
The frontend generates an API keypair before starting the OAuth login flow. This keypair will later become the session keypair once the user is authenticated via 0xkey.
2
Start the OAuth Login Flow
The user begins the login process by clicking “Log in with <OAuth provider>” on the frontend.
3
Initiate OAuth
The frontend initiates the OAuth Authentication flow with the provider.
4
User Grants Permission
The OAuth provider prompts the user to grant permission to share their identity. Once approved, the OAuth provider returns an
oidcToken to the frontend.5
Provider Delivers auth_code
The provider delivers a short-lived auth_code via the redirect_uri.
6
Get OIDC Token
The backend exchanges the auth_code + redirect_uri for an OIDC ID Token using the
OAuth2Authenticate activity.7
Get or Create a 0xkey Sub-organization
The backend gets subOrgIds that are associated with that
oidcToken. If no sub-organization exists, it creates one using the identity in the token.8
Create a Session
The backend calls
oauth_login with the oidcToken, and API public key. The backend sends this JWT to the frontend. NOTE: For this flow, the nonce is not required to match sha256(publicKey).9
You're Now Authenticated
Your frontend now treats the API keypair as the session keypair. It can use the private key to sign requests to 0xkey using the
x-stamp header.What does 0xkey use from the OIDC tokens to prove identity?
0xkey parses and validates the following fields from the OIDC token to confirm the user’s identity:issuer(iss) – The OAuth provider that issued the token (e.g.,https://accounts.google.com)audience(aud) – The OAuth app’s client IDsubject(sub) – The unique identifier for the user in the OAuth provider’s system
Some OAuth providers (like Google) encourage you to register separate client IDs for each platform (e.g., web, iOS, Android). However, as discussed above, in the 0xkey flow the
aud claim from the OIDC token is used as part of how sub-organizations are identified.
If a user logs in on one platform using the web client ID, and then later logs in on another platform using a different iOS client ID, the two tokens will have different aud values. Because of this, 0xkey will not consider them the same identity.
To ensure users are recognized consistently across platforms, you must use the same OAuth client ID everywhere. In most cases, this means using your web client ID for web, iOS, and Android flows.
OIDC token verification
All OIDC tokens are verified inside of 0xkey’s secure enclaves. We’ve designed a new secure enclave to fetch TLS content securely and bring non-repudiation on top of TLS content: our TLS fetcher returns a URL and the fetched content, signed by the TLS fetcher’s quorum key. By trusting the TLS fetcher quorum key, other 0xkey enclaves can bring TLS-fetched data into their computation safely. Verifying OIDC token is the first computation which requires this! To verify an OIDC token, other 0xkey enclaves receive the OIDC token as well as:- the signed content of the issuer’s OpenId configuration. OpenId configuration must be hosted under
/.well-known/openid-configurationfor each domain. For Google for example, the issuer configuration is ataccounts.google.com/.well-known/openid-configuration. This JSON document contains, among other thing, ajwksUrikey. The value for this key is a URL hosting the list of currently-valid OIDC token signers. - the signed content of the issuer’s
jwksUri(e.g., for Google, thejwksUriisgoogleapis.com/oauth2/v3/cert). This is a list of public keys against which the secure enclave can verify tokens. Note: these public keys rotate periodically (every ~6hrs), hence it’s not possible to hardcode these public keys in our secure enclave code directly. We have to fetch them dynamically!
iss, aud and sub attributes against the registered OAuth providers on the 0xkey sub-organization. We also check exp to make sure the OIDC token is not expired, and the nonce attribute (see next section).
Nonce restrictions in OIDC tokens
OurOAUTH_LOGIN activity requires 2 parameters minimum:
oidcToken: the base64 OIDC tokenpublicKey: the client-side public key generated by the user
nonce claim is set to sha256(publicKey).
For example, if the public key is 0394e549c71fa99dd5cf752fba623090be314949b74e4cdf7ca72031dd638e281a, our enclaves expect the OIDC token nonce to be 1663bba492a323085b13895634a3618792c4ec6896f3c34ef3c26396df22ef82.
This restriction only applies during authentication (OAUTH activity). Registration via CREATE_OAUTH_PROVIDER and CREATE_SUB_ORGANIZATION activities is not affected since these activities do not accept a publicKey and do not return encrypted credentials as a result.
If your OAuth provider does not allow you to customize nonce claims, 0xkey also accepts and validates tknonce claims. This is an alternative claim that will be considered. Only one of (nonce, tknonce) needs to be set to sha256(publicKey); not both.
OAuth vs. OIDC
OAuth2.0 is a separate protocol from OIDC, with distinct goals:- “OAuth2.0” is an authorization framework
- “OIDC” is an authentication framework
OIDC providers
Below, some details and pointers about specific providers we’ve worked with before. If yours isn’t listed below it does not mean it can’t be supported: any OIDC provider should work with 0xkey’s OAuth.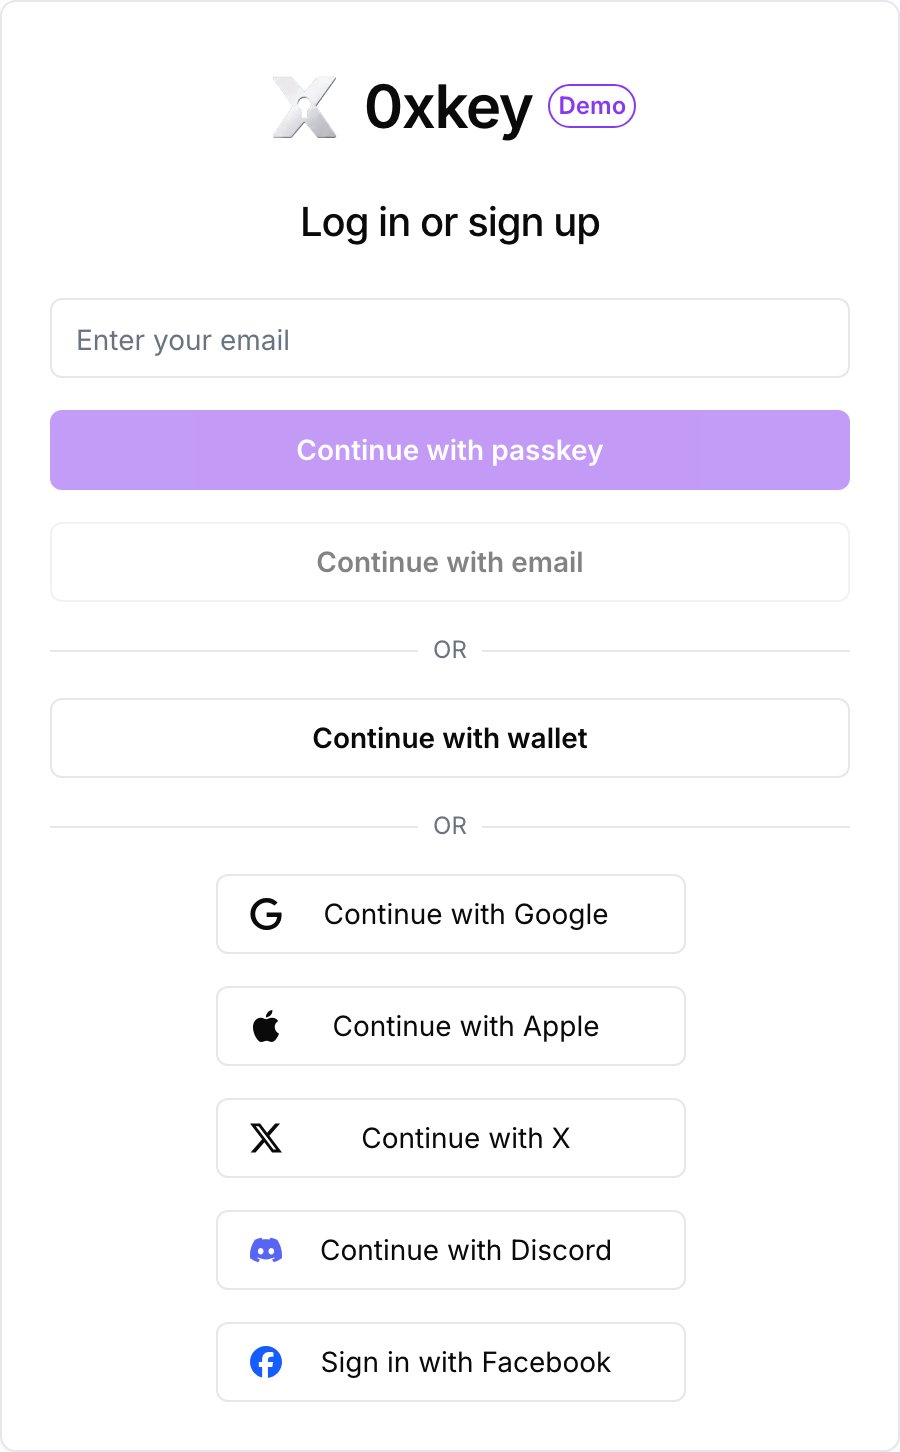
src/components/auth.tsx for how OAuth providers are wired in the landing page.
The main documentation for Google OIDC is available here.
Apple
Apple integration is also extensively tested and supported, and is integrated into our demo wallet (hosted at https://demo.0xkey.io). The code provides an example component as well as an example redirect handler. Documentation for Apple OIDC can be found here.- You will need to generate a code verifier that can either be recalled (e.g. from a database) or reassembled in a later request.
- You will need to provide a code challenge as a parameter of the OAuth redirect that is either the code verifier itself or the hash of the code verifier.
- Instead of receiving the OIDC token after the OAuth flow, you will receive an auth code that must be exchanged for an OIDC token in a subsequent request. The code verifier and your app’s ID are also required in this exchange.
Auth0
This provider was tested successfully and offers a wide range of authentication factors and integration. For example, Auth0 can wrap Twitter’s auth or any other “Social Connection”. In the testing process we discovered that Auth0 admins can manage users freely. Be careful about who can and can’t access your Auth0 account: Auth0’s management APIs allow for account merging. Specifically, anyone with ausers:update scope token can call this endpoint to arbitrarily link an identity.
For example, if a Google-authenticated user (OIDC token sub claim: google-oauth2|118121659617646047510) gets merged into a Twitter-authenticated user (OIDC token sub claim: twitter|47169608), the OIDC token obtained by logging in through Google post-merge will be twitter|47169608. This can be surprising and lead to account takeover if an Auth0 admin is malicious. This is documented in Auth0’s own docs, here.
AWS Cognito
Amazon Cognito supports the standard OIDC nonce parameter — you can supply a custom nonce value in the/oauth2/authorize request and Cognito will include it in the resulting ID token (as per AWS documentation).
Custom OIDC providers: your own identity provider
This is OIDC Federation: it lets a parent organization register its own OIDC Identity Provider (an internal auth service, Auth0/Cognito tenant, or any standards-compliant IdP) as a trusted issuer for its sub-organization users — distinct from the built-in social providers described above. It’s the recommended long-term path for customers with an existing user system who want to keep their own IdP as the source of truth for identity while still getting cryptographically-verified, non-custodial logins into 0xkey.For a step-by-step walkthrough (register issuer → mint token → onboard/bind users) plus a dedicated troubleshooting section, see the OIDC Federation integration guide.
(issuer, audience) pair pre-registered as trusted. Built-in social providers (Google, Apple, …) are trusted by default. For any other issuer, including your own IdP, you must register it first with CREATE_OIDC_PROVIDER. This is an org-level, root-quorum-only operation: it establishes trust for the whole (parent) organization, not a single user.
Prerequisites for your IdP
Your Identity Provider must expose the standard OIDC discovery surface — 0xkey’s enclave fetches these live (through the same TLS Fetcher used for social logins) rather than trusting a cached copy:- OIDC Discovery:
https://<your-issuer>/.well-known/openid-configuration, returning at minimumissuerandjwks_uri. - JWKS: a live, HTTPS-hosted key set at the discovered
jwks_uri. 0xkey enforces full public-CA TLS validation with no self-signed/dev bypass — there is no way to register an issuer served over plain HTTP or with a private CA. - Key rotation: when you rotate signing keys, publish the new key and keep the previous key in the JWKS for a grace period (0xkey has no rotation-schedule concept of its own — it simply trusts whatever the JWKS currently serves). Dropping the old key immediately invalidates any token signed with it that’s still in flight.
- Stable
sub: thesubclaim must be a stable, non-reassignable identifier for the user. If your IdP allows account merging orsubreassignment (see the Auth0 caveat above), review that flow carefully —(iss, sub)is 0xkey’s identity primary key.
Registering an issuer
cURL — CreateOidcProvider
Response
issuermust exactly match theissclaim your IdP puts in its tokens, and cannot be changed later — delete and re-create if it changes.audiencesis the allowlist ofaudclaims (your OAuth2 client IDs) that are accepted for this issuer.
GET_OIDC_PROVIDERS— list all registered providers for an organization.UPDATE_OIDC_PROVIDER— changeproviderName,audiences, orenabled(issuer is immutable).DELETE_OIDC_PROVIDER— remove a provider. Existing per-user identity bindings for that issuer are not retroactively deleted (seeDELETE_OAUTH_PROVIDERSto remove those explicitly) but will fail future logins since the issuer is no longer trusted.
Fail-closed: no wildcard trust
Registration requires at least one audience — an issuer with an empty audience list is rejected outright. There is no “trust this issuer for any audience” option: every login or identity-binding attempt must present a token whoseaud is in the registered list, in addition to passing the standard iss/exp/signature/nonce checks described above.
How this differs from the built-in providers table
Once an issuer is registered, it participates in the exact same enclave verification path already described in this guide: signature verification against the issuer’s live JWKS,
iss/aud/exp/nonce enforcement, and (iss, sub) identity binding. There is no separate “custom provider” login flow — oauth_login doesn’t know or care whether the issuer is Google or your own IdP.
Social linking
Social linking is the concept of automatically linking an email address to a 0xkey user by authenticating with a social provider. This allows an end-user to authenticate with the social provider, or a matching email address. Currently, we only allow automatic linking for Google social logins. The cases are as follows:- The end-user authenticates with Google. Their email address is automatically linked to their authentication methods and considered “verified,” allowing them to log in with email OTP or email auth in the future.
- The end-user authenticates with a Google email address (e.g., @gmail.com) via email OTP or email auth. If they later authenticate with Google, the Google OIDC provider will automatically be added as a valid login method, provided the email matches.
- The end-user has existing non-Google authentication methods (e.g. phone number, passkeys, etc.) and later adds Google OIDC as a login method (via CREATE_OAUTH_PROVIDERS). The email address in the Google account will be automatically marked as “verified” and linked to the existing user.
Setup for OAuth 2.0-only providers
Setting up X/Twitter
Navigate to the X developer portal and create/setup your app. In the Keys and Tokens section, you’ll need to save your Client ID and Client Secret so that these values can be uploaded to 0xkey’s servers: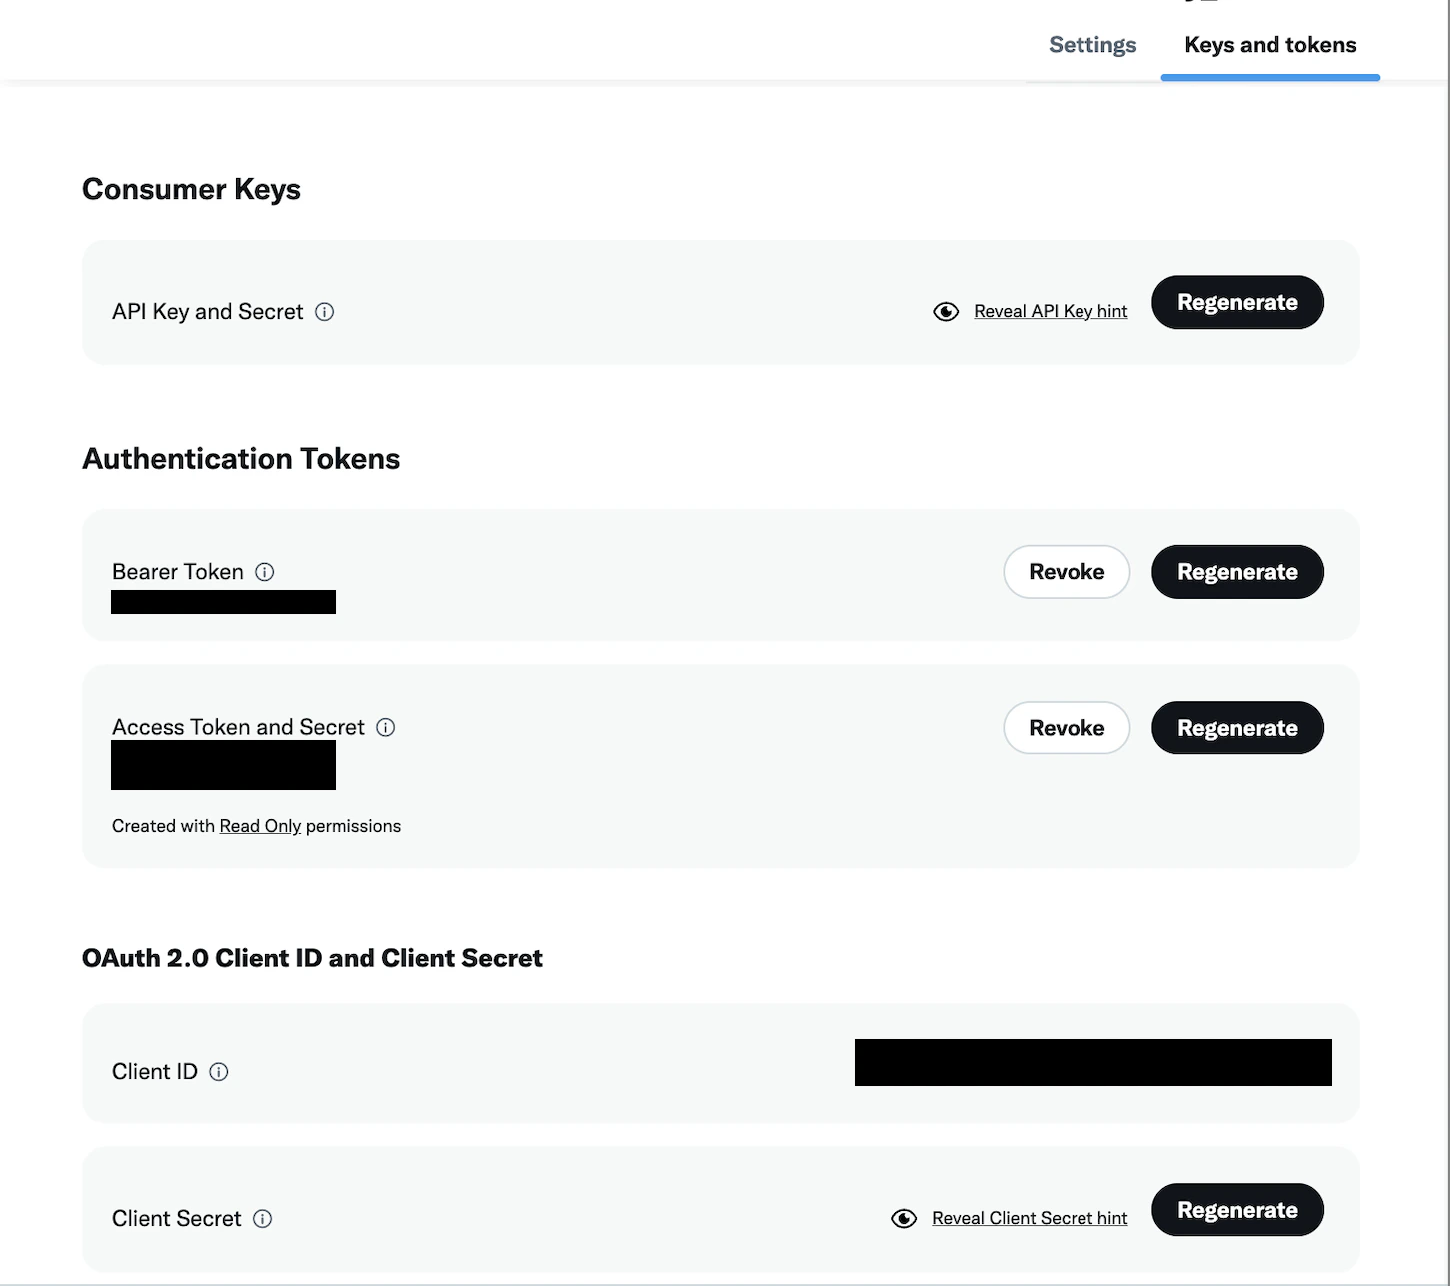
Required scopes
In order for 0xkey to access the/2/users/me endpoint, the following scopes must be set during Authorization:
tweet.readuser.read
Setting up Discord
Navigate to the Discord developer portal and create/setup your app. In the General Information section, you’ll need to save your Client ID and Client Secret so that these values can be uploaded to 0xkey’s servers: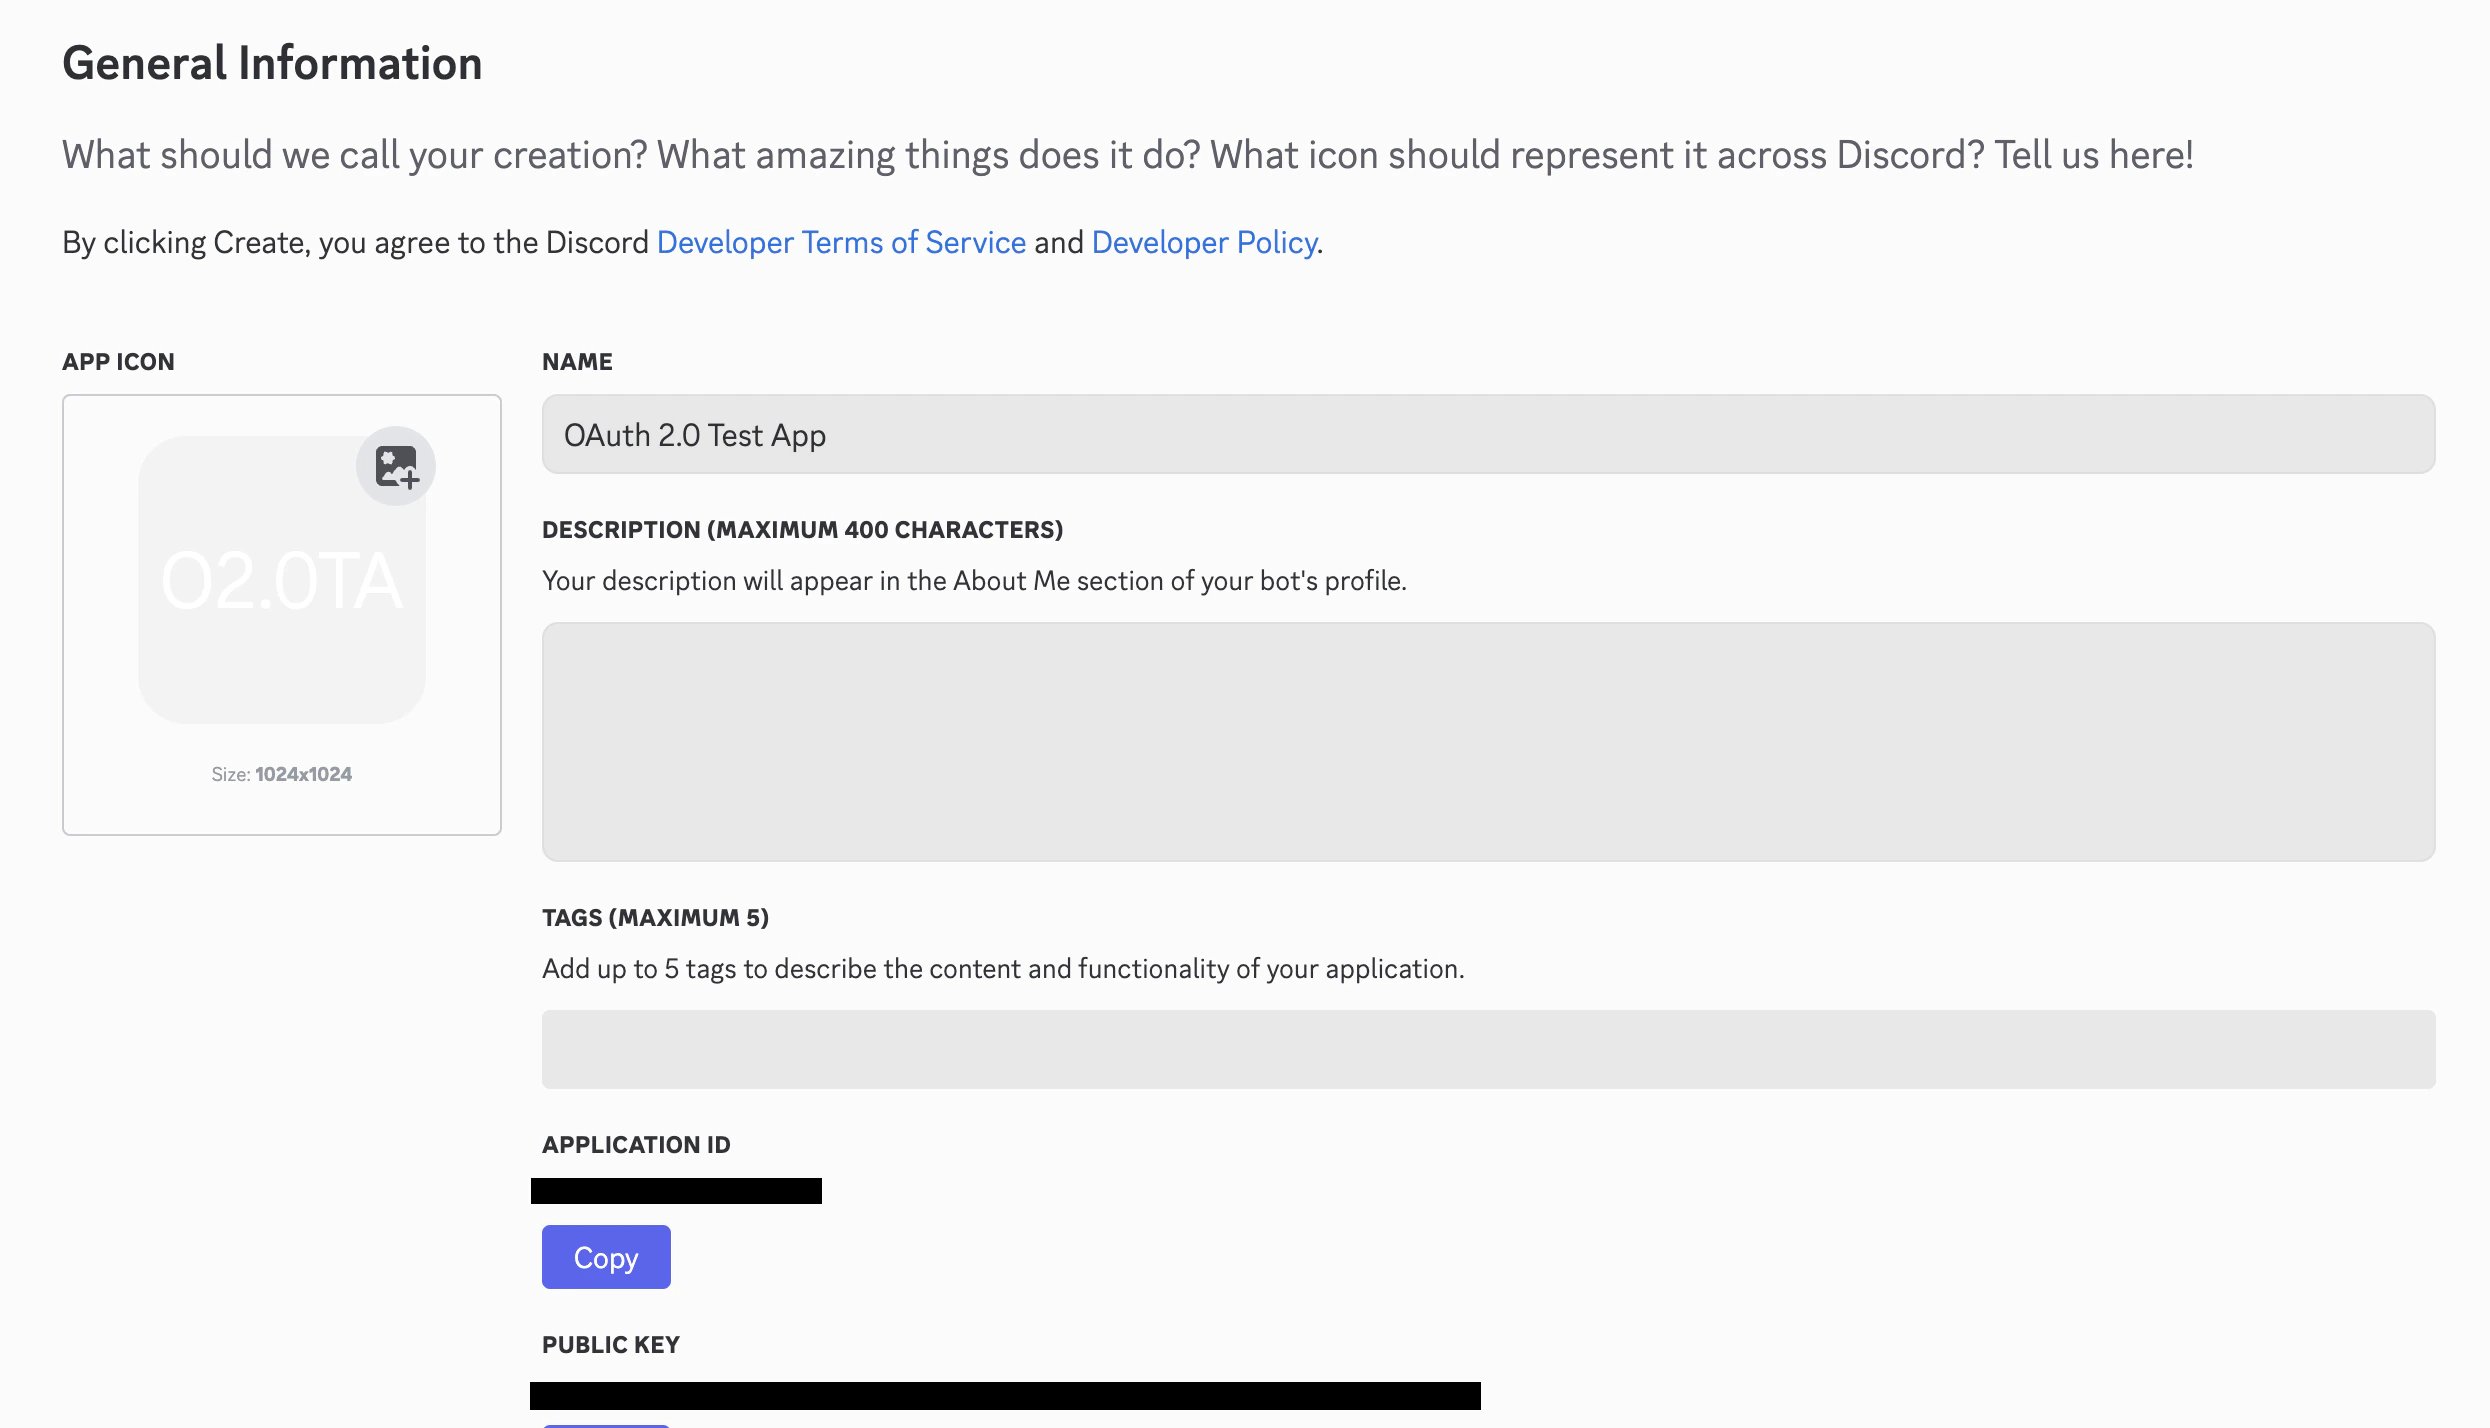
Required scopes
In order for 0xkey to access the/api/users/@me endpoint, the following scopes must be set during Authorization:
identifyemail
Client secret upload
For every OAuth 2.0-Only Social Provider that you wish to integrate with, you must upload the Client ID and Client Secret issued by that Provider to 0xkey’s Servers. In order to protect these sensitive credentials, they will be encrypted to the Quorum Key of the TLS Fetcher enclave, which ensures they cannot be accessed outside of that environment. You can upload these credentials through the 0xkey Dashboard. In the Wallet Kit section of the dashboard, head to the Socials tab and click Add provider. Select the provider you want to add from the dropdown, and fill in the required fields. You can find these values in the provider’s developer console. Any secrets will automatically be encrypted before uploading to 0xkey. Once uploaded, you can then use the Credential Id from the table shown to make requests to theOAUTH2_AUTHENTICATE activity.
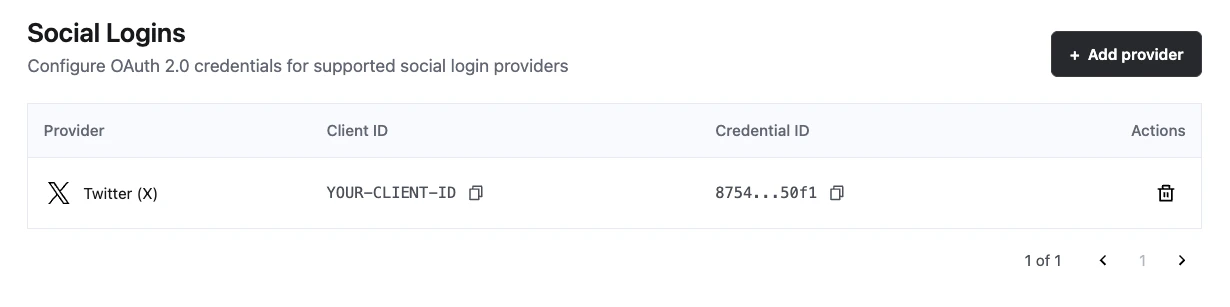
demo-embedded-wallet for OAuth credential upload patterns using the SDK.
Returning the encrypted bearer token
When using OAuth 2.0-Only Social Providers, it is also possible to have the bearer token returned by theOAuth2Authenticate endpoint, which can be useful if you would like your app to have additional integrations involving this Social Provider.
In order to guarantee the secure transfer of the bearer token, it must be encrypted to a P256 Encryption Key inside our secure enclave, returned to the caller, and then finally decrypted. Therefore, the return of the encrypted bearer token is dependent on the caller providing an optional bearerTokenTargetPublicKey parameter in the request to OAuth2Authenticate.
See demo-embedded-wallet OAuth callbacks for an example of the encrypted bearer-token return flow with OAuth2Authenticate.